Getting Started
Quick Start
This guide walks you from a blank slate to your first successful face identification call in under 10 minutes.
The process has two distinct phases:
Phase 1 · Steps 1–3
Setup, once
You, in the dashboard, signed in with your account. Nothing here happens from your application.
Phase 2 · Steps 4–5
Integration
Your backend, holding nothing but an API key. No account credentials are involved.
Prerequisites
- A LiveXFace account: sign up for free.
curlor any HTTP client (Postman, Insomnia, etc.).
Phase 1 · Setup, in the dashboard
Step 1: Create an account
Sign up for a LiveXFace account. After verifying your email you will land in the dashboard where all setup steps take place.
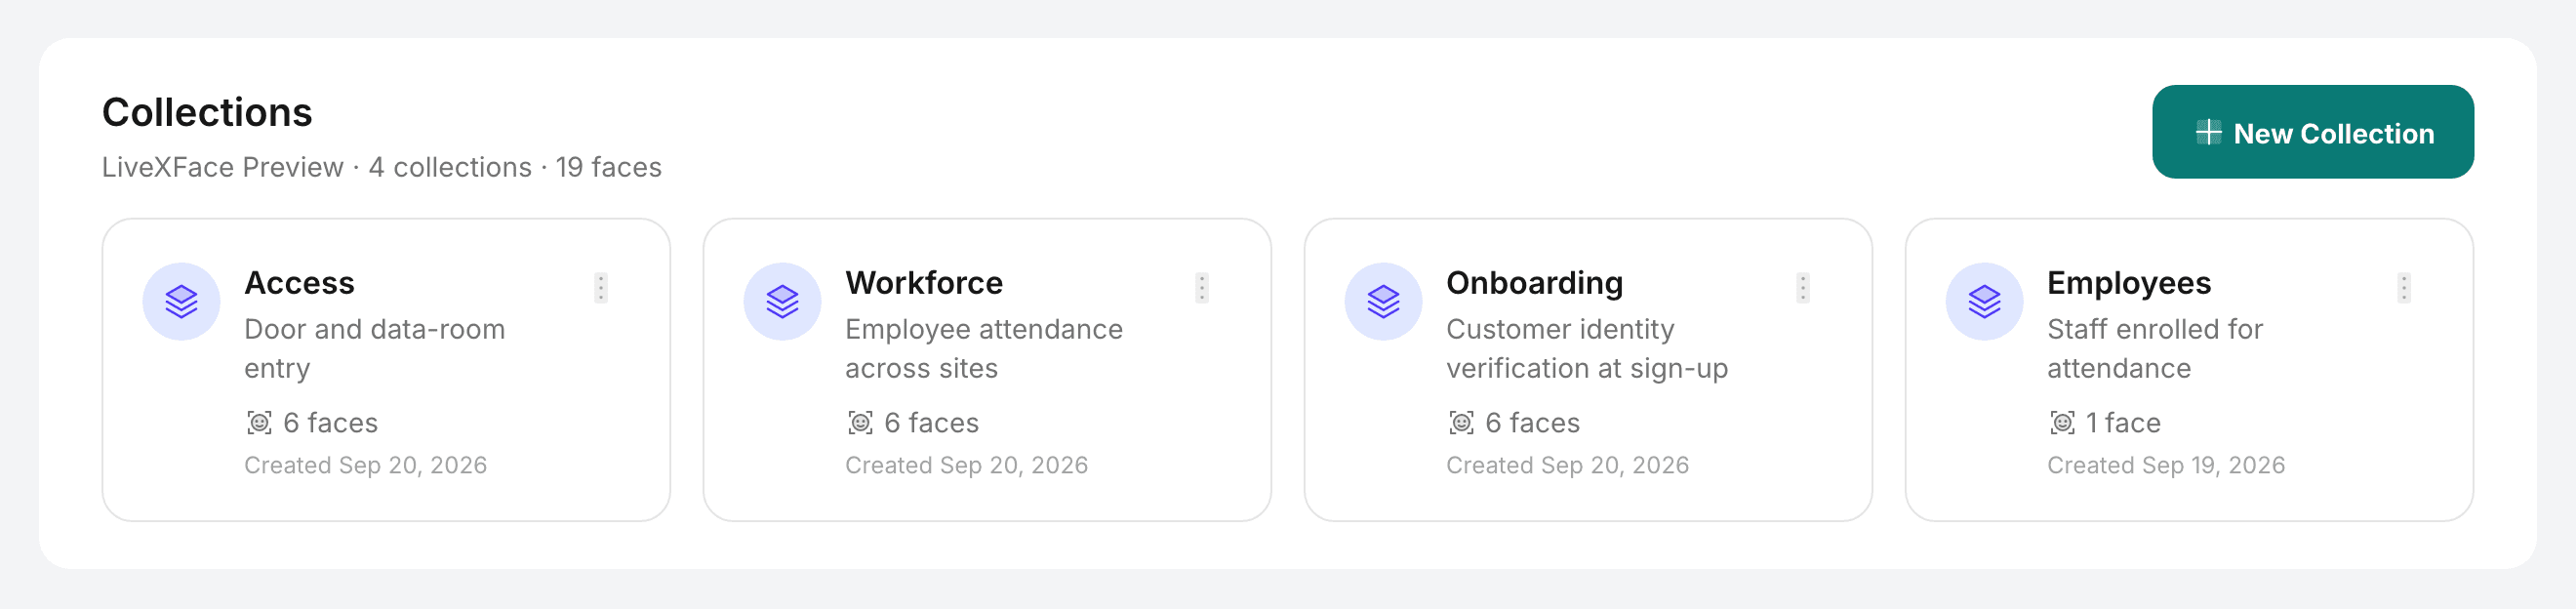
Step 2: Create a collection
In the dashboard, go to Collections and click New Collection. Give it a name (e.g. employees) and save. Note the collection ID shown on the detail page. Your application will use this ID in every API request.
Step 3: Issue an API key
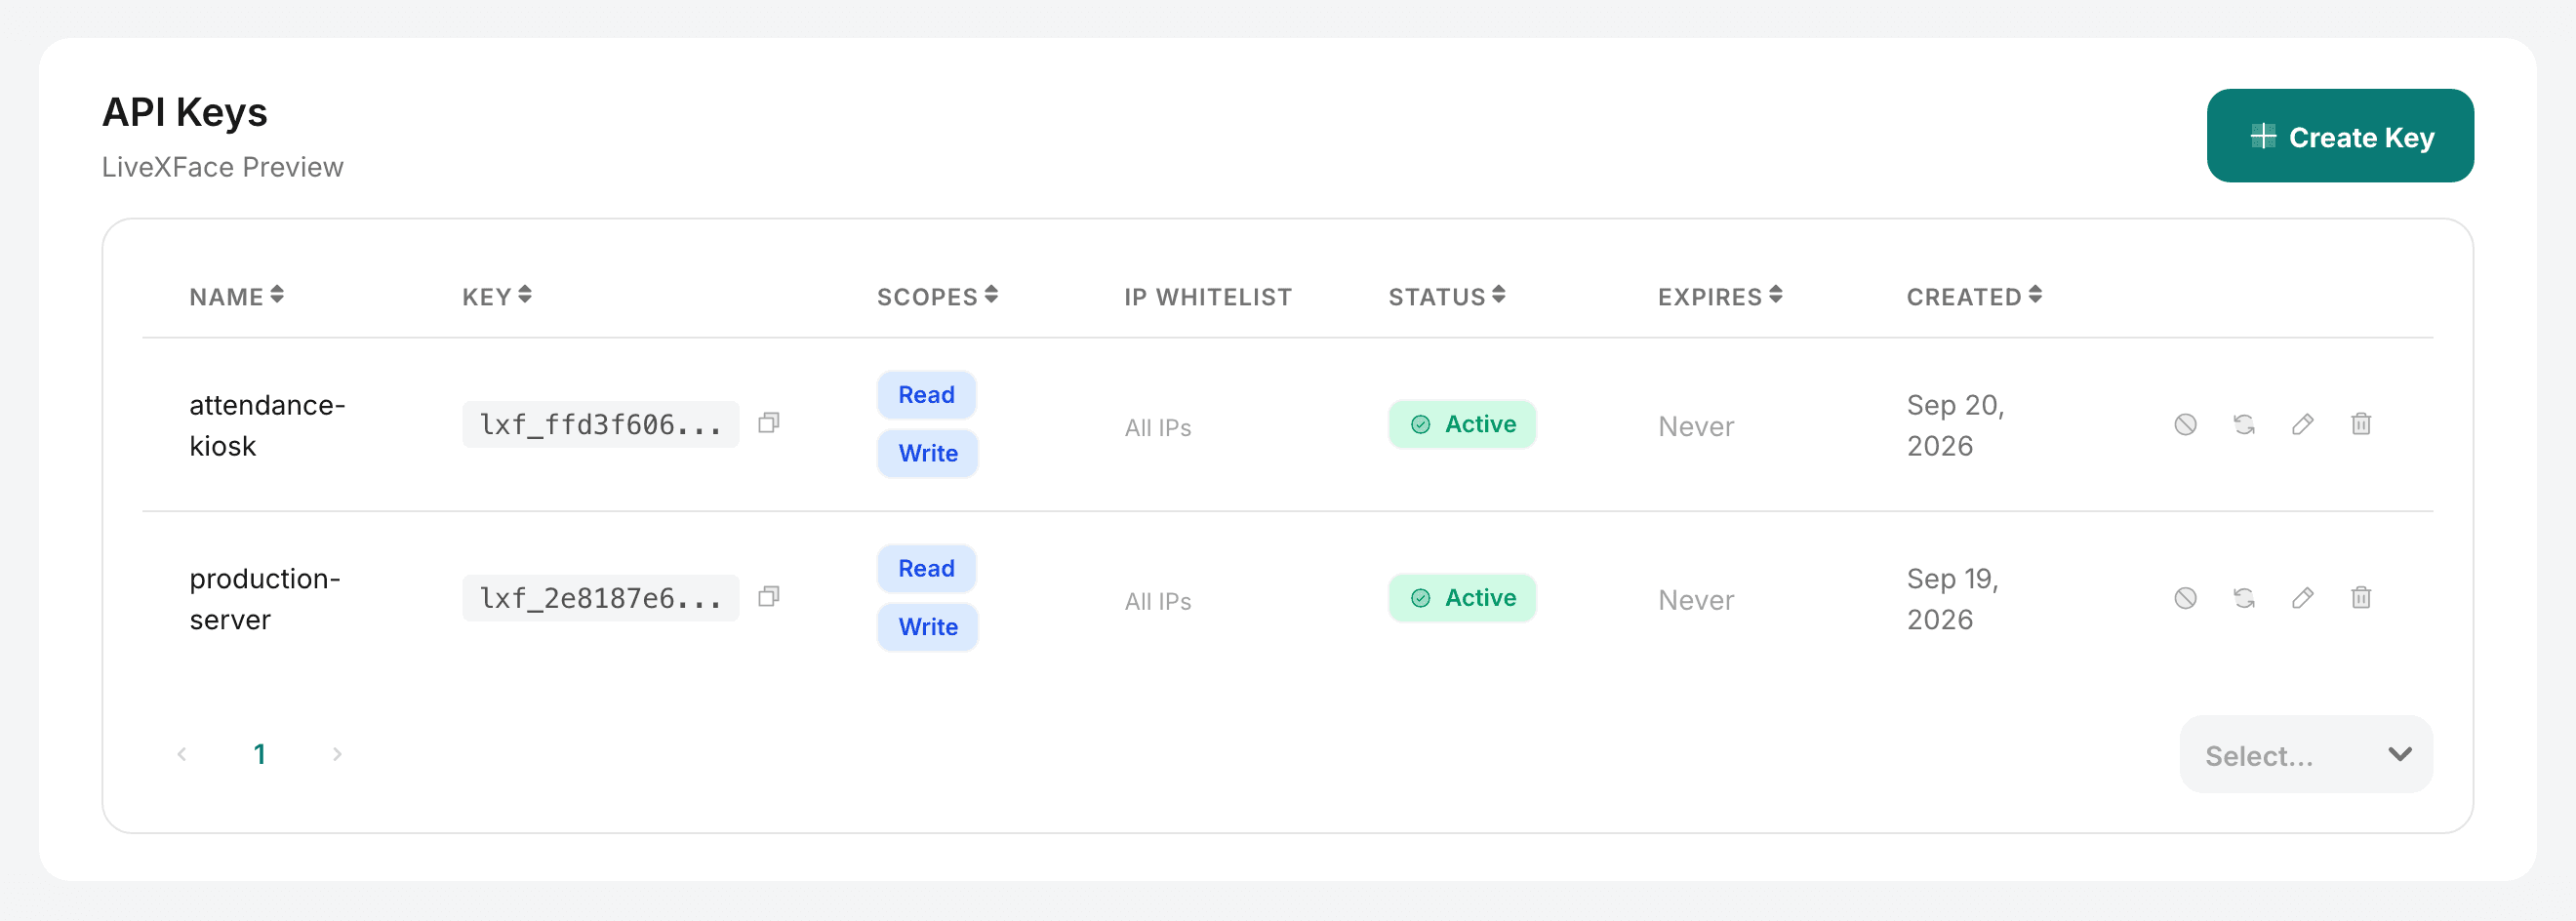
Go to API Keys in the dashboard and click Create Key. Select the collection you just created and give the key a name (e.g. production-server). Copy the key value shown. It is only displayed once and cannot be retrieved later. Store it in your environment variables or secrets manager.
# Store as an environment variable — never hard-code in source
export LIVEXFACE_API_KEY="lxf_a1b2c3d4_e5f6g7h8i9j0k1l2m3n4o5p6"
export LIVEXFACE_COLLECTION_ID="9f1c2b7e-3d84-4a16-8c55-0b7e2a1d6f30"
Phase 2 · Integration, with an API key
Step 4: Enroll a face
From your application, use the API key to enroll faces. No login required, just the key in the X-API-Key header. The external_id links the face to your own user or record identifier.
curl -X POST https://api.livexface.com/api/v1/collections/COLLECTION_ID/faces \
  -H "X-API-Key: YOUR_API_KEY" \
  -F "[email protected]" \
  -F "external_id=user_alice_001" \
-F 'metadata={"name":"Alice Smith","department":"Engineering"}'{
"success": true,
"data": {
"id": "c5c695cb-6871-4f07-993d-33062d3b154f",
"collectionId": "5aa02278-3010-4465-913f-64aa5eb321f9",
"externalId": "user_alice_001",
"metadata": { "name": "Alice Smith", "department": "Engineering" },
"imageUrl": "faces/5aa02278-.../c5c695cb-....jpg",
"createdAt": "2026-09-20T11:35:55+07:00"
}
}Step 5: Identify a face
Search the collection for the top-K matching faces. The API returns matches sorted by confidence, highest first.
curl -X POST https://api.livexface.com/api/v1/collections/COLLECTION_ID/identify \
  -H "X-API-Key: YOUR_API_KEY" \
  -F "[email protected]" \
  -F "top_k=3" \
-F "threshold=0.45"{
"success": true,
"data": {
"matches": [
{
"faceId": "dc3e7a57-22d5-4271-b707-213e49c8fe54",
"externalId": "user_alice_001",
"confidence": 0.97,
"metadata": {"name": "Alice Smith", "department": "Engineering"}
}
],
"queryTimeMs": 42
}
}A similarity score above 0.55 is typically a confident match. Tune the threshold based on your use-case security requirements: higher for stricter access control, lower for more permissive matching.
Try it now
Use the playground below to run a live identification request against your own collection. Enter your API key and collection ID in Settings, upload a photo, and hit Send.
/collections/{collection_id}/identifyFace to search for in the collection
Max matches to return (1–100)
Minimum similarity score (0.0–1.0)
What's next?
- Read Authentication for scopes, IP whitelisting and rate limits.
- See Verification for 1:1 face comparison.
- Set up Webhooks to receive real-time events.